Patrols & Points
This page explains how to create patrols, how to view patrols, and how the points system works on RegPoints. It covers the flow you see in the dashboard when you create a new patrol, how staff approve patrols, and how points are awarded.
Creating a New Patrol
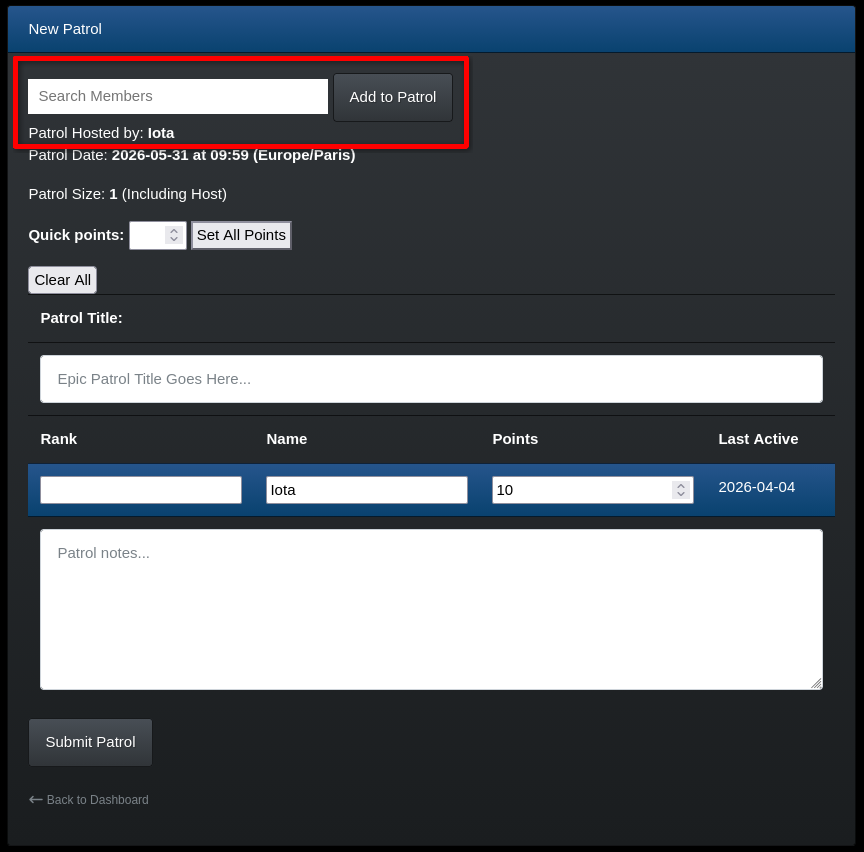
Section titled “Creating a New Patrol”To create a patrol, open the New Patrol page from your dashboard. This page lets you build a patrol roster, set points for each member, add notes, and choose the server.
-
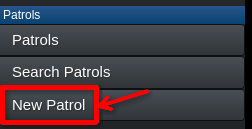
Go to the ‘Patrols’ category on the sidebar, then click the ‘New Patrol’ tab:
-
Use the search box to add members by name - results appear as you type.
-
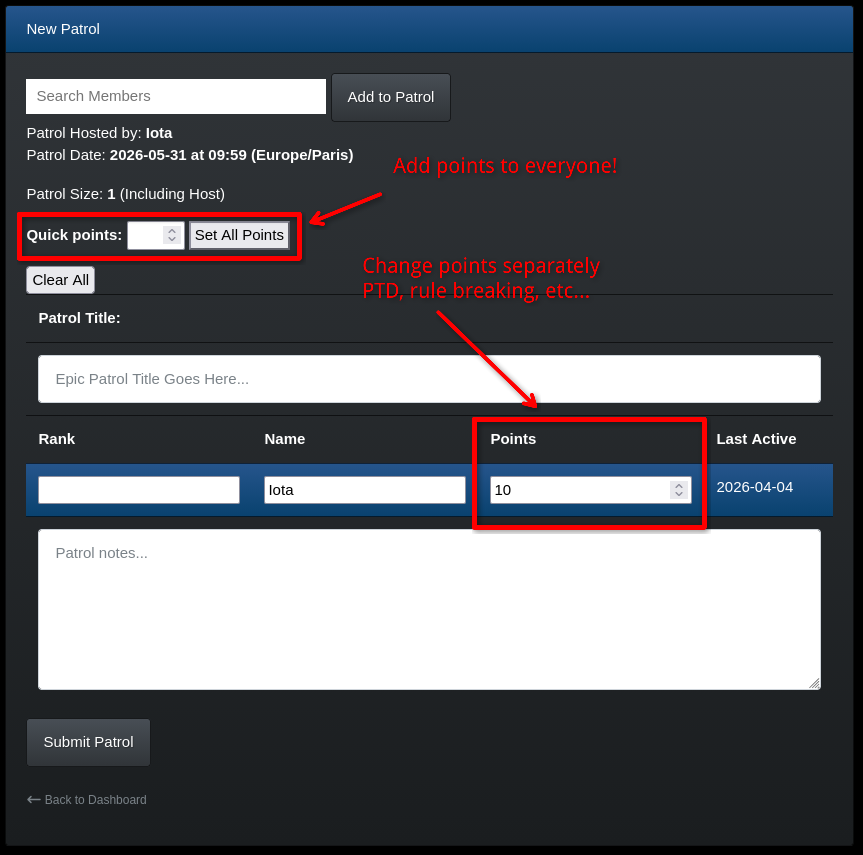
Set the points for each member or use Quick points to fill values for everyone.
-
Enter a short title and optional notes, pick the server if there are multiple, then click Submit Patrol.
While composing a patrol, the page saves your title and notes in your browser so you can navigate away and return without losing them. If you submit the patrol, the draft will be cleared.
What Happens After Submitting?
Section titled “What Happens After Submitting?”If you only have ‘access’ permissions (see Member Management - Staff - Permissions) the patrol will be submitted for approval and your higher ups will review it. If you have ‘admin’ permissions, the patrol will be automatically approved and added to the roster immediately.
Approval?
Section titled “Approval?”Approval is to make sure the patrol is approved. Points will be officially given to members only after the patrol is approved. If you have ‘admin’ permissions, you can approve patrols yourself.
Viewing Patrols
Section titled “Viewing Patrols”Visit the Patrols page to see recent patrols. Use the controls at the top of the page to:
- Sort by newest or oldest patrols.
- Show or hide only approved patrols.
- Page through results if there are many entries.